v14.0ATX 2014
Inserting a Table in a Client Letter
To insert a table in a client letter:
- From the Return Manager, click the Tools menu; then, select Client Communication Manager.

Client Communication Manager
- From the Templates pane, double-click the template in which to place a table.
- Do one of the following:
- Click the
 button on the toolbar.
 - Click the Tools menu; then, select Insert Table.
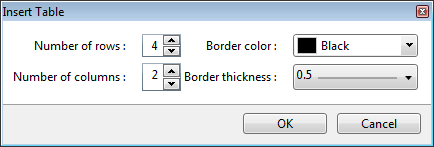
Insert Table dialog box
- Set the desired number of rows and columns, as well as the table border color and thickness.
- Click OK.

To edit table text:
You can enter text into the table as you would any standard table. Use the tab and arrow keys to move between cells in the table. You can also use the formatting tools in the toolbar.
To edit table properties:
- Right-click anywhere within the table.
- Select Table Properties.

Edit Table dialog box
- Make changes as desired.
- Click OK.
See Also: